Visual prompts
Most studies care about objects that are not ordinary COCO classes -- a particular toy, a specific piece of apparatus, a bespoke stimulus. Rather than collecting a training set and retraining a detector, MindSight uses YOLOE and lets you define the object classes visually: you show the detector a few example images with boxes drawn around your objects, and it detects things that look like them. That definition lives in a visual prompt (VP) file.
The shipped known-good preset uses YOLOE, so a visual prompt is the normal way a
study tells the detector what to look for. Your study lead often prepares one
once and drops it in the project's Inputs/Prompts/.
What a VP file is
A VP file is JSON with the extension .vp.json. It encodes two things: the list
of object classes your study cares about, and one or more reference images with
bounding-box annotations showing YOLOE what each class looks like.
{
  "version": 1,
  "classes": [
    {"id": 0, "name": "knife"},
    {"id": 1, "name": "plate"}
  ],
  "references": [
    {
      "image": "/absolute/path/to/reference.jpg",
      "annotations": [
        {"cls_id": 0, "bbox": [x1, y1, x2, y2]},
        {"cls_id": 1, "bbox": [x1, y1, x2, y2]}
      ]
    }
  ]
}
A few rules the format enforces:
classesuse sequential integer IDs starting at0, and they must be contiguous.referencesis a list of reference images, each with a set of annotated boxes referencing those class IDs.- Every annotated reference image is used (v1.3): each one contributes to the class embeddings, averaged per class across the references that annotate it. Multiple references showing an object under different lighting, angles, or distances make matching noticeably more robust -- the standard fix for the resolution/contrast failure modes below. References without annotations are skipped.
You do not hand-edit this JSON -- the VP Builder writes it for you.
Building one in the VP Builder
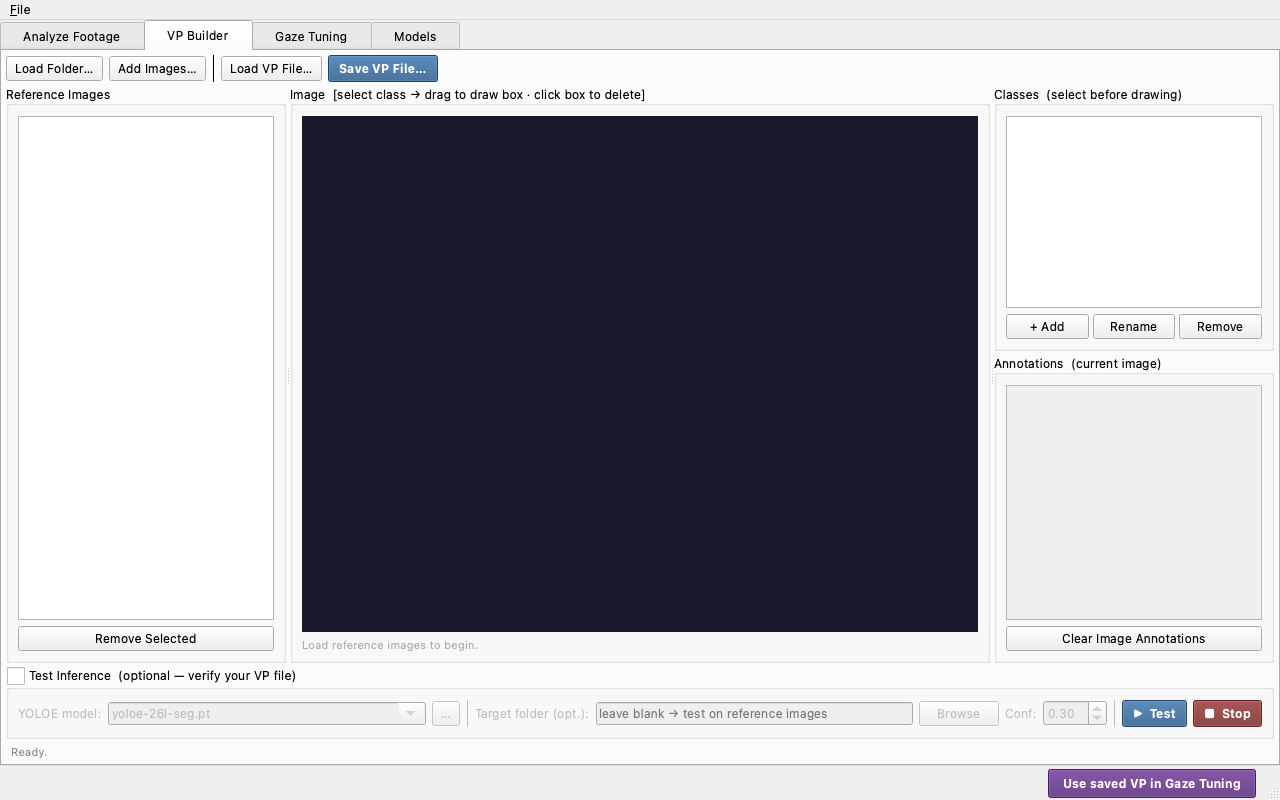
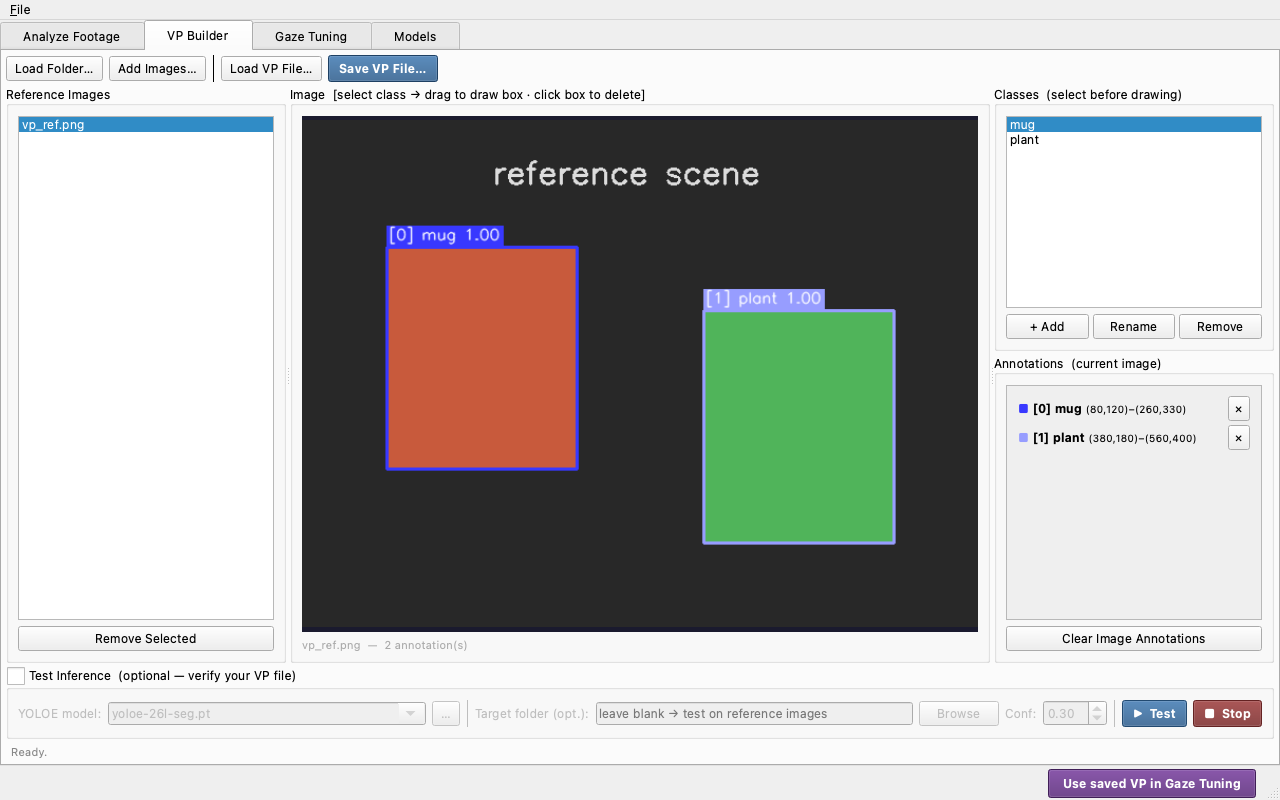
The VP Builder tab produces valid .vp.json files by pointing and clicking:
- Add images -- one or more frames containing the objects you want to detect. Sampling from your actual study footage works far better than stock photos.
- Add a class for each object category your study cares about.
- Tag objects on the canvas (one grammar, no modes to switch): drag to draw a box, click a box to delete it, and click an empty spot to get suggested boxes (see below). Every new box is tagged with the active class, shown in the colored chip under the canvas.
- Switch classes without leaving the image: press a class's number
(
0-9) while the mouse is over the canvas (press it again to clear), cycle withCtrl/Cmd+Left/Right, or click a class in the list (clicking the selected one clears it). If you tag a box with no active class, a small class menu pops up right at the cursor -- pick one there, or create a new class on the spot. - Save VP File... writes the
.vp.json. - Test Inference -- point a YOLOE model at a folder of test images and preview the detections before committing to a full run (this runs asynchronously, so the UI stays responsive).
Suggest on click: click instead of drawing
With Suggest on click enabled (it is, by default, once the weight is
installed), click an empty spot on an object: MindSight segments the
region under your cursor (FastSAM) and shows up to four numbered box
proposals, most specific first, highlighting the one you hover. Click a
proposal to accept it into the active class -- exactly as if you had
drawn it -- press Esc (or right-click) to dismiss, or click elsewhere
to get new proposals. It needs the small FastSAM-s weight (24 MB,
AGPL-3.0): download it once from the Models tab (SAM row).
Suggestions are a drawing aid only; the saved .vp.json is identical to
a hand-drawn one.
Made a mess, or starting the next prompt? Start Fresh on the toolbar clears the whole session -- images, boxes, and classes -- after a confirmation, without restarting the app.
Condition-specific prompts (v1.3.1)
Studies with multiple conditions rarely show the same objects in every session. One visual prompt file can now carry the whole study:
- Conditions... on the VP Builder toolbar opens the condition editor:
define the condition tags (the same tags your project's videos carry) and
tick, per class, the conditions it appears in. A class with no ticks
stays active in every video. Conditioned classes show an
@tagbadge in the class list. - In project mode it just works: each video's condition tags (from the
Build-Project wizard,
project.yaml, orrun.yaml) select the matching classes -- the detector is rebuilt automatically whenever the active condition set changes between videos. Untagged videos get only the always-active classes, and the preflight report calls out untagged videos, unmatched tags, and videos whose conditions match nothing. - Preview per condition: the Test Inference row's Condition combo runs the test with exactly the subset a condition's videos will see.
- Overrides: the Use full visual prompt checkbox in Inference
Settings (or
--vp-ignore-conditions) prompts every class everywhere;--vp-condition warmruns a single video (or a whole batch) as one condition.
Files without condition tags are byte-identical to the previous format, so
existing .vp.json files, archives, and eval tooling are untouched; tagged
files save as format version 2 (older MindSight versions cannot read those).
Changing condition tags reprocesses affected project videos on the next
resume (the prompt file's content is part of the run identity).
🎬 Demo coming soon -- SHOT:vp-annotate
VP Builder: add a reference image, add a class, drag a box, assign it, Save VP File.
Extract Frames for reference images
You rarely have good reference stills lying around. Extract Frames... on the toolbar pulls evenly spaced stills straight out of a video -- or out of every video in a project -- to use as reference images. Because YOLOE matches on pixel size, frames pulled from the study's own footage are the best possible references.
Export Portable (.vp.zip)
A .vp.json stores absolute paths to its reference images, so it breaks the
moment it (or the images) move to another machine. Export Portable... solves
this: it packs the prompt and every reference image into a single .vp.zip
archive, rewriting the image paths archive-relative. On the other machine, Load
VP File opens the .vp.zip directly and unpacks it. This is a portability
convenience only -- the detection behaviour is identical.
🎬 Demo coming soon -- SHOT:vp-export-portable
Export Portable writes a .vp.zip; on a second window, Load VP File unpacks
it and the references reappear.
Making prompts that detect well
Visual prompting is powerful but sensitive to how you set it up. This guidance is drawn from the MindSight paper and from practical tuning experience.
- Sample from your study footage. Prompts defined from your actual recordings consistently beat prompts built from external reference images. The detector is matching appearance, so the closer the reference is to what the camera actually sees, the better.
- Match prompt resolution to video resolution. YOLOE encodes class embeddings from the pixel size of the example objects, not their semantic identity. If your prompt images are 4K and your video is 720p, objects appear at different scales and confidence collapses. Normalising the prompt resolution to roughly match your expected video resolution makes a noticeable difference.
- Watch for low colour contrast. Objects that do not visually pop against their background are the most common detection failure. Where you can choose study materials, prefer items that clearly contrast with the table, floor, or walls they will sit on.
- Use a lower confidence threshold than you would expect. Visual prompts
often need a detection confidence around
0.20--0.30, whereas text-class YOLO is comfortable around0.35--0.50. Pair the lower threshold with overlap merging to suppress duplicate boxes. - Larger and less occluded is more reliable. Small, ambiguous, or frequently occluded objects are inherently harder to detect. Keep task-relevant items visually distinct and minimally occluded where you have control over the scene.
Using a VP in a run
Once you have a .vp.json (or .vp.zip), point runs at it:
- In a study project -- place the file in the project's
Inputs/Prompts/. In project mode, if you do not name one explicitly, the first.vp.jsonfound there is loaded automatically -- so keep one VP file per project to avoid surprises. To name one explicitly, set the Visual prompt file in the Inference Settings dialog, or have your study lead add it to the project's pipeline preset. - On the command line -- pass
--vp-file /path/to/prompt.vp.json. - In Inference Tuning -- Use saved VP in Inference Tuning (on the VP Builder) hands the saved prompt straight to the Inference Tuning tab's VP field so you can preview it live.
See also
- Inference settings and tuning -- where the detection settings that go with a prompt (YOLOE model, confidence, overlap merging) live.
- Crop and adjust -- auto-crop can use a study's VP file to place the crop rectangle.
- The MindSight pipeline -- how detection fits into a run.
- pipeline.yaml schema and CLI flags -- the equivalent config keys and flags.