Projects and sessions
A MindSight project is a folder that holds a whole study: its recordings,
each recording's participant and condition metadata, the pipeline settings the
study runs with, and every output. Working through a project (rather than
analyzing loose video files) is what gives you batch runs, resume-on-crash,
per-run metadata carried into the outputs, and the project-wide Global_*
aggregates.
This guide covers creating projects, the two ways footage enters a project (planned sessions and direct adds), and managing runs. For the click-by-click study walkthrough, see the Run a Study tutorial; this guide fills in the surrounding surfaces.
Why work in a project
- Batch runs. One ▶ Run processes every recording in the project.
- Resume. A batch keeps a ledger; if it is interrupted, starting it again skips what already finished (see Run management).
- Per-run metadata. Each recording's participants and condition ride into the output CSVs, so aggregates and per-condition breakdowns come out for free.
- One place for outputs. Everything a study produces lands under the
project's
Outputs/folder (see Where things live).
Create a project
There are three ways to get a project, plus a shortcut for opening one.
Build New Project (the wizard)
Build New Project... -- on the Projects tab, and under the File menu -- assembles the folder for you in five steps:
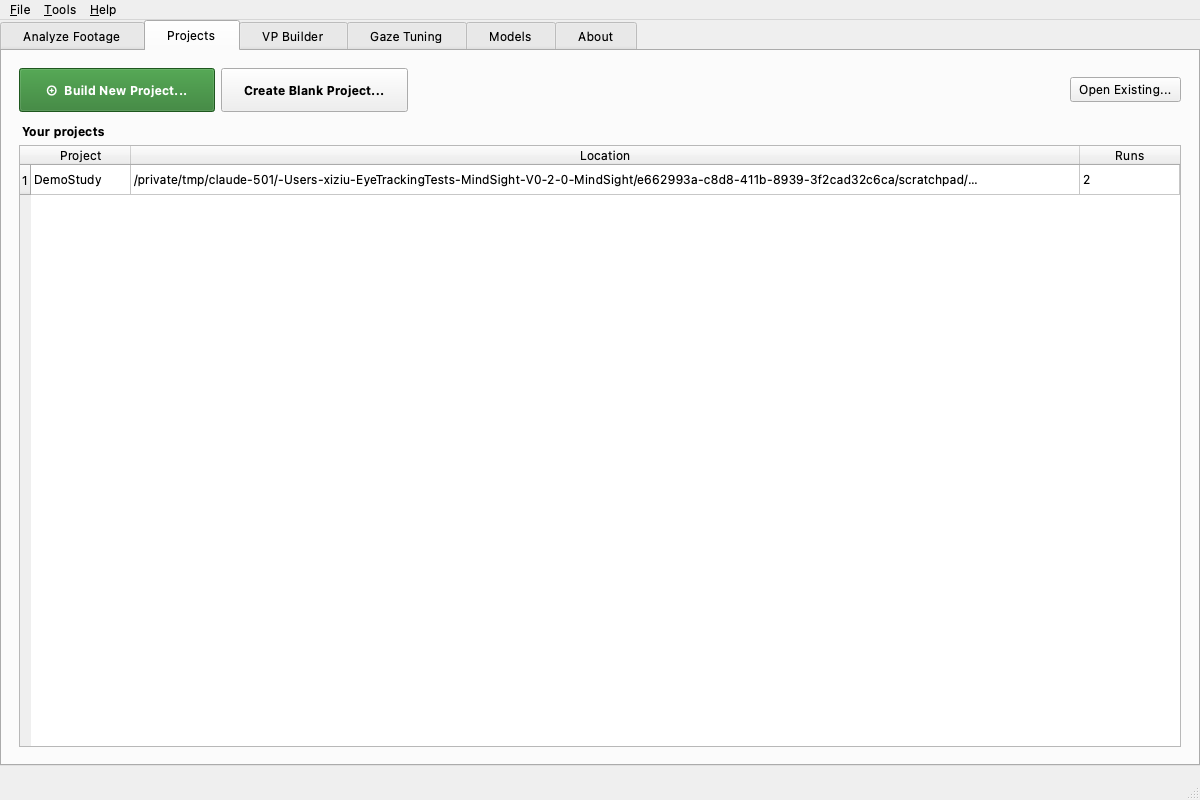
- Study -- name the project, choose where it lives, note how many people
appear per video, and type your study's conditions vocabulary (the fixed
list of experimental labels, e.g.
baseline,intervention). Defining them here turns tagging into checkboxes later. - Videos -- add your recordings. Each gets an editable, unique run name (its folder and output name). Files are copied in by default (safest); tick move only if you want the originals gone. You do not need all footage up front -- Add Planned Sessions... defines future sessions now (see Planned sessions).
-
Tag each video -- one at a time: a middle-frame preview on the left, and on the right the participant fields (by on-screen position -- "Leftmost person", "2nd from left", ...), the condition checkboxes, and date / session / notes. Untagged videos are allowed (you get a warning and can fill metadata in later).
-
Pipeline -- pick the preset the study runs with. KG_Standard (the shipped known-good preset) is the right choice unless your study lead says otherwise.
- Review & create -- Create builds the folder, stages every video into
Inputs/Runs/<run_id>/with itsrun.yaml, and writesPipeline/pipeline.yamlandnotes.md.
When it finishes, use ▶ Open in Analyze Footage on the project overview to go straight to preflight.
🎬 Demo coming soon -- SHOT:projects-wizard
The Build New Project wizard stepping through all five pages and Create.
Other ways in
- Create Blank Project (File > New Project...) -- makes an empty project folder you populate later with Add single run... or by planning sessions.
- Open an existing project -- the Projects tab lists recent projects; double-click one, or Browse... to any folder. File > Open Project... does the same.
- Drag a folder onto the Analyze Footage tab -- MindSight opens it as a project and snaps into Project mode.
Planned sessions
A planned session is a session that exists as metadata before its footage
does: MindSight writes the session's run.yaml (its participants and condition)
into Inputs/Runs/<run_id>/ with no video yet. The session sits in the
project as awaiting recording until you fulfill it.
This is what lets a study with a known schedule (say, ten weekly sessions) do all its metadata once, so each session day is just record-and-go.
You create planned sessions two ways:
- In the wizard -- Add Planned Sessions... on the Videos step.
- On an existing project -- + Plan Session... next to the runs table on the project's overview.
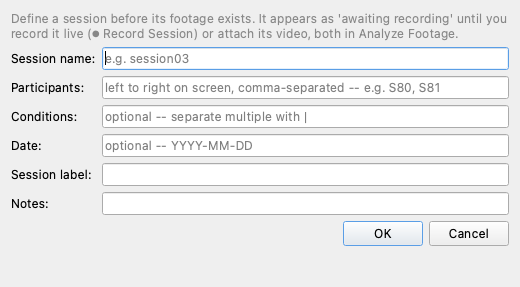
🎬 Demo coming soon -- SHOT:plan-session
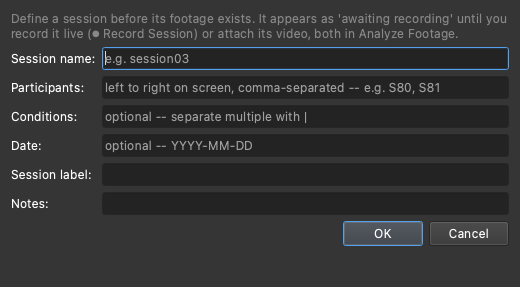
Plan Session: name the session, set participant and condition tags, and the new row appears as "awaiting recording".
Fulfilling a planned session
Record it live. ⏺ Record Session... captures straight into the project:
pick the camera, pick the planned session (its tags prefill), and press
Start Recording. The preview shows the live feed and the status line counts
time and frames. The raw capture is written to a temporary
Inputs/Runs/_recording_<run_id>.mp4 while recording; on End Session it is
moved into Inputs/Runs/<run_id>/ like any other video and analysis starts on
it automatically.
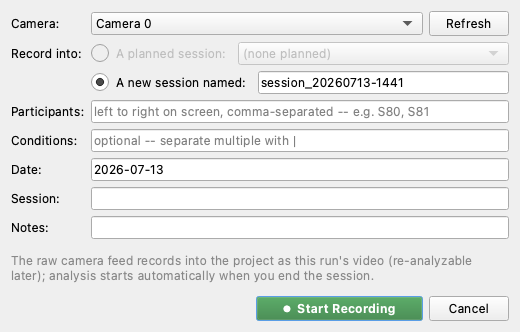
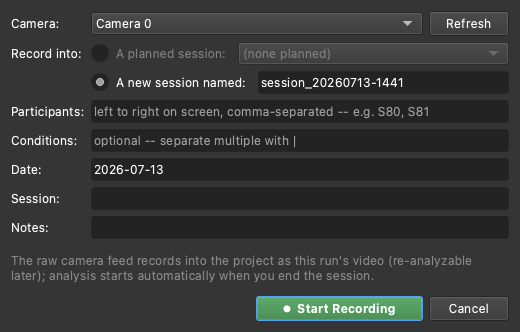
🎬 Demo coming soon -- SHOT:record-live-session
Record Session: pick a camera, choose a planned session (tags prefill), Start, the timer ticks, End Session, auto-analysis begins.
Attach footage recorded elsewhere. For footage shot on another device (a camcorder, a phone), right-click the planned session's row and choose Attach footage... -- the file is copied in (your original is untouched) and MindSight offers to analyze it.
Sessions do not have to be planned in advance: Record Session... can target a new session named on the spot, and footage that arrives as a file goes in through Add single run.... Planning ahead just means the tags are already filled when the session day comes.
The project overview
Open a project on the Projects tab to reach its overview: the runs table (both real recordings and planned sessions), study notes, and shortcuts:
- ▶ Open in Analyze Footage -- jump to preflight and running.
- Reveal Folder -- open the project folder in Finder / Explorer.
- Crop & Adjust Videos... -- re-frame or change the frame rate of recordings before running (see Crop and adjust).
- + Plan Session... and ⏺ Record Session... -- as above.
- Output shortcuts to the project's results.
Run management
Once a project is open in Analyze Footage, the Runs table under the preflight checklist is where you manage individual recordings.
-
Add single run... -- add one recording at a time: pick the video, fill in participants (a
track:labelmap, e.g.0:P0, 1:P1) and conditions, then Run now or Save to project.... Import CSV... loads a row from aparticipant_ids.csvinstead of typing.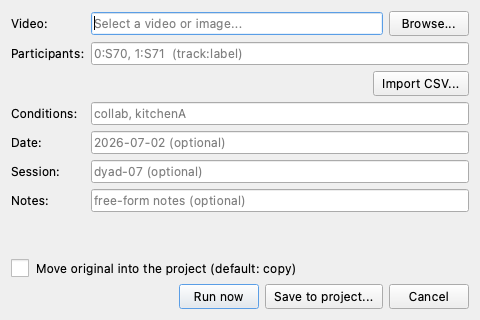
-
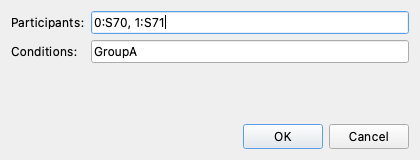
Edit run... -- select a row to change its participants or condition after adding it.
-
Right-click a row for its context menu: Re-run this run (reprocess just that recording; its previous output is archived, not deleted), Record this session (for a planned row), or Attach footage....
Project runs resume by default -- ▶ Run processes everything not already complete and skips finished recordings. Re-run all (it confirms first) reprocesses everything from scratch. Because runs resume, an interrupted overnight batch is safe to simply start again.
See also
- Run a Study tutorial -- the full click-by-click study walkthrough, including the preflight checklist and every preflight message.
- Analyze footage -- the three run modes in depth.
- Crop and adjust -- re-framing recordings.
- Where things live -- the project folder layout on disk.