GUI Tour
This is a five-minute orientation to the MindSight desktop app: what the six tabs are for, what lives in the menu bar, and where to go next for each task. It is a map, not a manual -- every surface here links to the guide that covers it in full.
If you just want to run a study end to end, the Run a Study tutorial is the click-by-click walkthrough. Come back here when you want to know what the rest of the app does.
1. Launching MindSight
MindSight ships as a double-click installer (see Install), so after installing you launch it like any other app:
- macOS -- open the MindSight app in your Applications folder, or the MindSight link on your Desktop.
- Windows -- use the MindSight shortcut on your Desktop or Start Menu.
From a terminal (e.g. on a shared lab machine set up by a developer) the console
command mindsight-gui launches the same window.
First launch. A fresh install seeds the shipped known-good preset, KG_Standard -- the detection, gaze, and Gaze-LLE Blend settings validated on classroom-style footage. That means the very first run you do already matches a real study run; you do not have to configure anything to get sensible numbers.
You land on the Analyze Footage tab.
🎬 Demo coming soon -- SHOT:gui-tour
A slow walkthrough of the whole window: the six tabs across the top, then a pass through the menu bar.
2. The six tabs
Across the top of the window are six tabs. You will spend almost all your time on the first one; the rest are for occasional tasks.
Analyze Footage -- the home screen, and where studies actually run. A three-way mode switch (Project | Video File | Camera) changes the whole tab: open a study project and batch-process it, quick-analyze a single clip, or record and analyze live from a webcam. See Analyze footage.
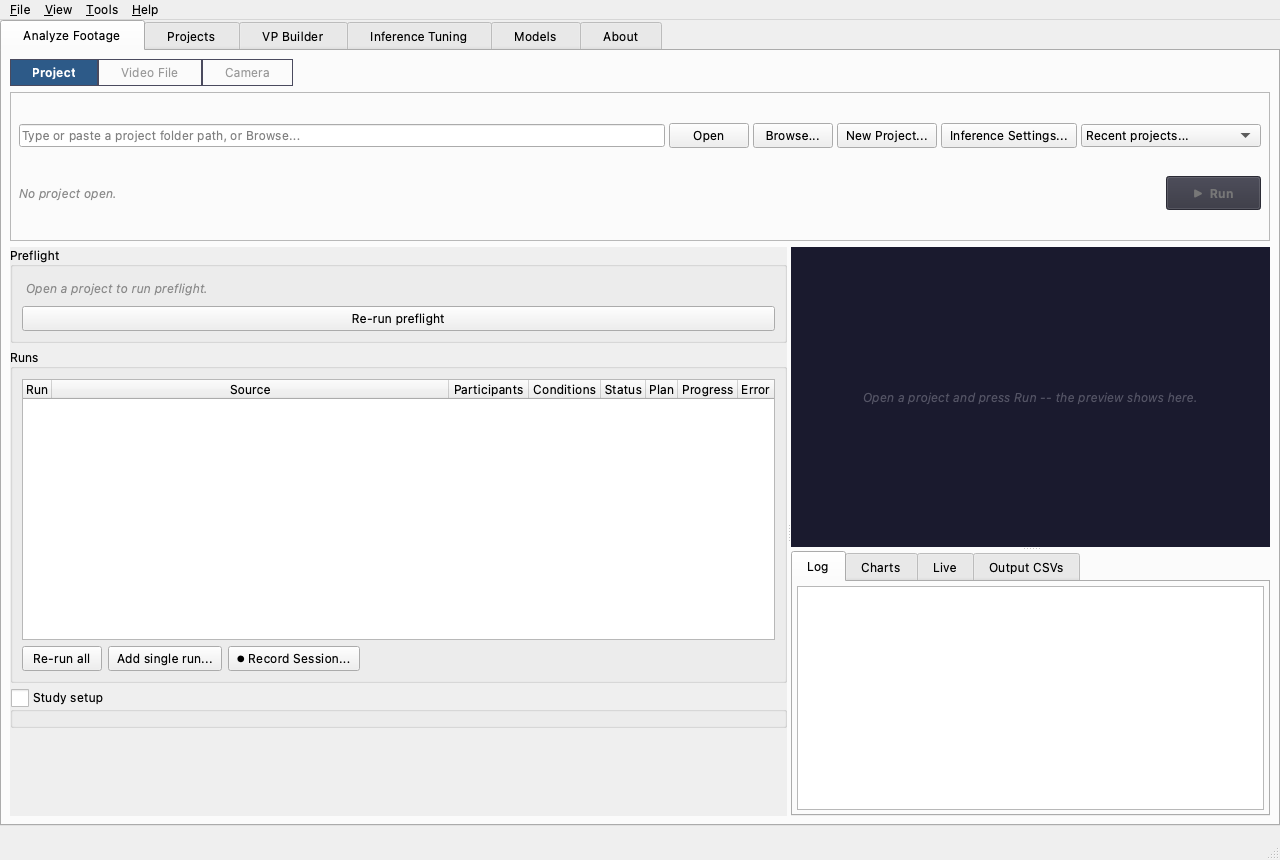
Projects -- your project library. Build a new study project with the wizard, reopen a recent one, or review a project's runs, notes, and outputs. This is also where you plan sessions, record live, and crop footage. See Projects and sessions.
VP Builder -- build a visual prompt: a small .vp.json file that teaches
the YOLOE detector your study's objects from example images instead of class
names. See Visual prompts.
Inference Tuning -- an interactive playground for experimenting with detection and gaze settings on a live preview. It is deliberately decoupled: settings here do NOT affect your study runs. When you find values worth keeping you import them across. See Inference settings and tuning.
Models -- check, verify, or re-download the model weights. The preflight checklist on Analyze Footage uses the same manifest, so this is where you go when preflight complains about a weight.
About -- program identity, links, and an in-app documentation reader (the guides are bundled offline in the app). See About and theming.
3. The menu bar
The menu bar carries the actions that are not tied to one tab:
- File -- Build New Project... (launches the wizard), New Project...,
Open Project..., then Load Preset... / Save Preset... for named
setting bundles, Import Pipeline YAML... / Export Pipeline YAML... to
round-trip a full configuration as a
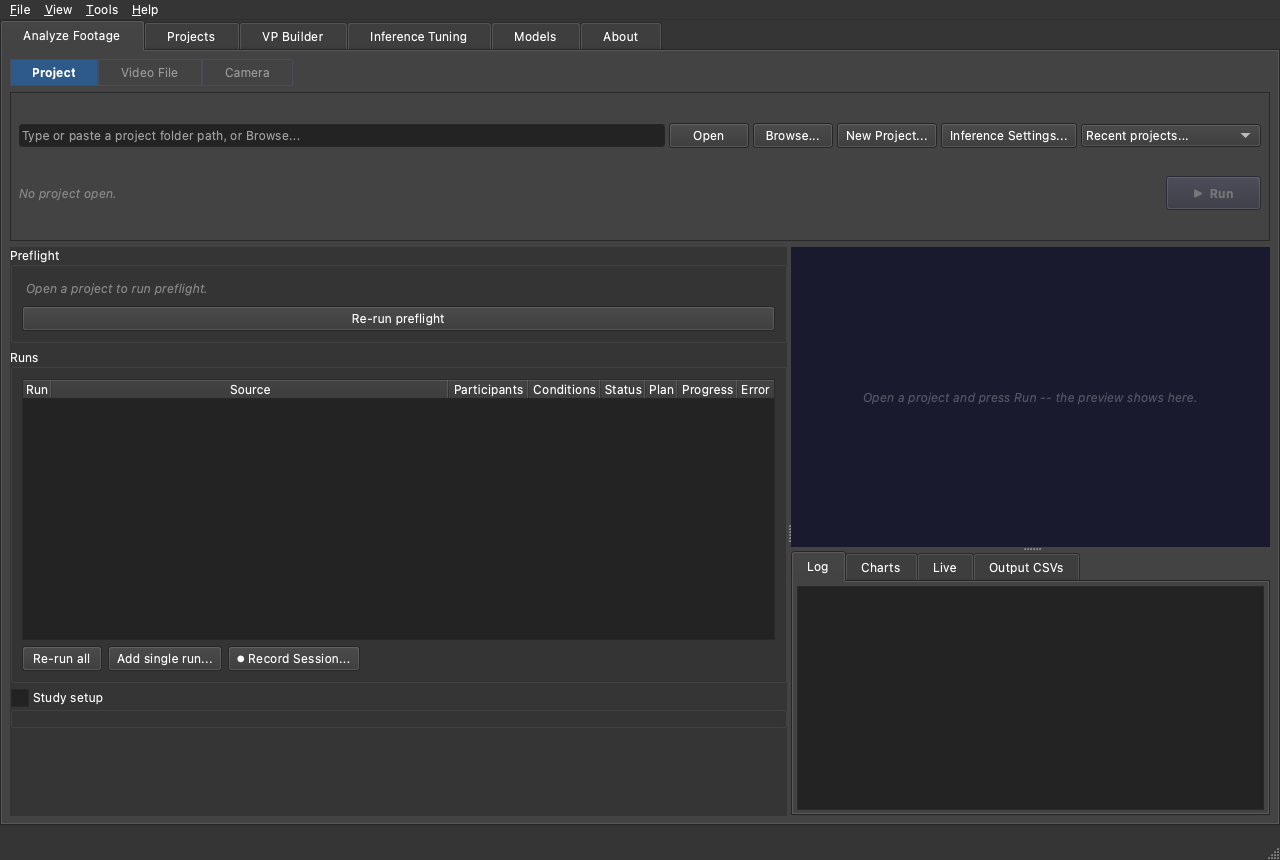
pipeline.yaml, and Quit. - View > Theme -- Auto, Light, or Dark. Auto follows the OS. See About and theming.
- Tools > Inference Settings... -- opens the Inference Settings dialog, the authority for how Analyze Footage runs are processed (see the callout below).
- Help -- Documentation (opens the docs site) and About MindSight.
🎬 Demo coming soon -- SHOT:theme-toggle
View > Theme switching auto -> light -> dark, recolouring the whole window live.
4. Where settings live
Two surfaces touch inference settings, and it is worth learning the difference early because it is a common source of confusion:
The dialog governs runs; the tuning tab is a sandbox
- The Inference Settings dialog (button on every Analyze Footage mode, also Tools > Inference Settings...) is the authority for how runs launched from Analyze Footage are processed.
- The Inference Tuning tab is a decoupled playground -- nothing you try there changes a study run. It is a one-way street: when an experiment is worth keeping, pull it into the dialog with Import from Inference Tuning....
Every field in the dialog is documented tab by tab on the Inference Settings reference; the Inference settings and tuning guide explains the two surfaces and when to use each.
5. Where to go next
| I want to... | Go to |
|---|---|
| Run a study end to end | Run a Study tutorial |
| Build a project, plan and record sessions | Projects and sessions |
| Understand the three Analyze Footage modes | Analyze footage |
| Teach the detector my study's objects | Visual prompts |
| Crop or re-frame recordings | Crop and adjust |
| Change how runs are processed | Inference settings and tuning |
| Read the docs offline, switch theme | About and theming |
| Find a file on disk | Where things live |