Crop and adjust
If a camera captured more room than the study needs, or a device recorded at an odd frame rate, Crop & Adjust Videos... re-frames the footage before you run it. It is worth doing: MindSight generally performs best when the footage is tightly cropped to the areas that matter -- for a desk task, the participants and the desktop, with the feet, floor, and blank space above their heads cropped away. Less irrelevant frame means fewer spurious detections and more resolution spent on faces and objects.
Open it from the project overview on the Projects tab.
Crop and re-frame
The dialog steps through the project's videos one at a time on a middle-frame preview:
- Drag a rectangle over the preview to set the crop.
- Optionally change the frame rate -- tick Change frame rate to: and set a new fps (valid range 1 to 120).
- Queue the edit and step to the next video; edits accumulate across several videos.
- Apply the whole batch in one pass.
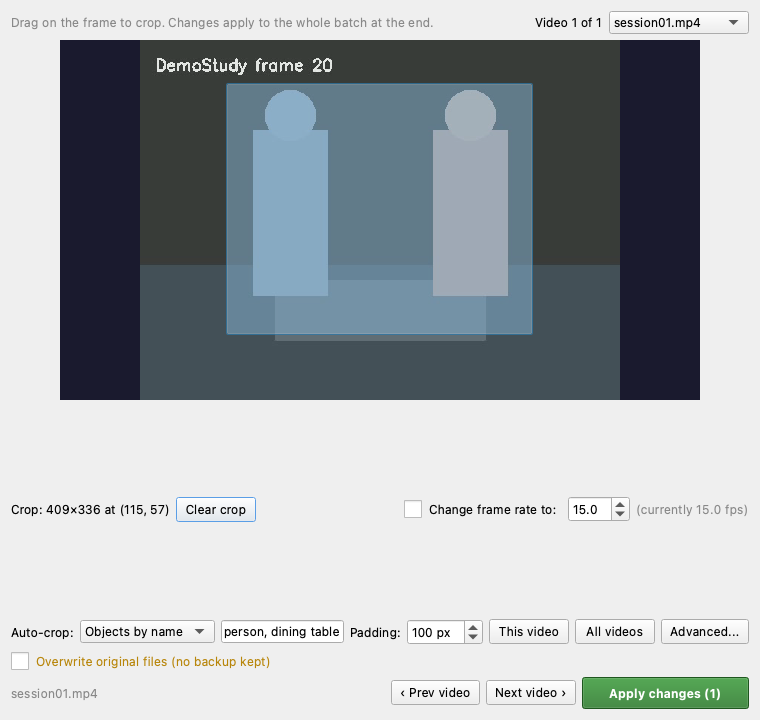
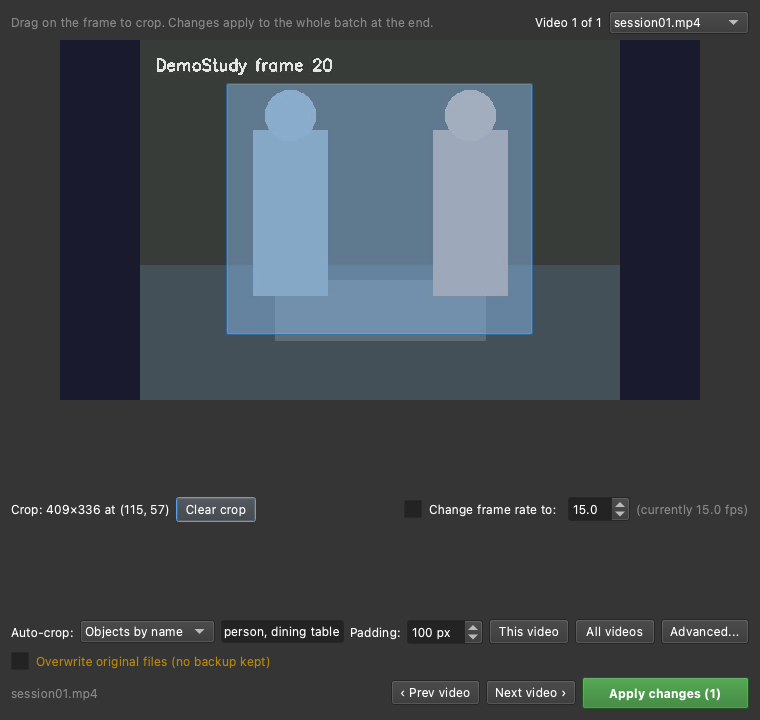
🎬 Demo coming soon -- SHOT:crop-adjust
Crop & Adjust: step to a video, drag a crop rectangle, set a new fps, queue it, Apply to the batch.
Non-destructive by default
Edits are non-destructive by default: the edited video keeps the same
filename (so run.yaml and run discovery never notice the swap), and the
untouched original is moved to an original/ folder beside it. A separate,
warned Overwrite original files checkbox replaces the original in place with
no backup -- leave it off unless you are certain.
An edited video is picked up automatically on the next ▶ Run: its old outputs are archived and it reprocesses with the new picture.
Auto-crop
You do not have to place the rectangle by hand. Auto-crop fits it around the objects that matter:
- Tell it what to look for -- either YOLOE class names (e.g. "person, dining table") or point it at your study's visual prompt file (see Visual prompts).
- It runs the detector on the video's middle frame, takes the union of all detections, and adds padding.
- Choose whether it applies to this video or all videos.
An Advanced... toggle picks the detector model and sets each side's padding independently. Padding can be negative -- a negative value crops inside the detections rather than adding a margin.
Auto-crop always lands the rectangle in the preview for you to review and adjust -- it never auto-applies. You get the final say before anything is written.
See also
- Projects and sessions -- the project overview where Crop & Adjust lives.
- Visual prompts -- the
.vp.jsonfile auto-crop can use. - Analyze footage -- running the re-framed recordings.